Set-up and Testing of the e-Node/xxxx.
Review the applicable document for respective e-Node model.
- Quick Start Guide for e-Node 2000/4000
- Quick Start Guide for e-Node/dmx 2100/4100
- Quick Start Guide for e-Node 4x00 and DALI
Important Steps that must be followed before the e-Node can be used to control connected (or to be connected) devices.
- Make sure you have selected the applicable e-Node/xxxx for your system requirements.
Typically, you will generally need one e-Node 2000/4000 gateway for 1-254 connected ILC-xx0 controllers. Alternatively, you will need one e-Node dmx 2100/4100 gateway for each 32-DMX fixtures. Finally, you will need (at least initially) 1 e-Node/4x00 gateway each connected ILC-640d (contact factory for any news on changes to this current specification).
- Install the e-Node into an appropriate housing and network connect the e-Node to your Local Area Network Switch (not your PC's Ethernet port).
Mount the e-Node(s) in the equipment rack or in a remote location (i.e., closer to the ILC-xx0 controllers or the DMX fixtures that the device will be controlling. Since the e-Node family of gateways are packaged in a DIN-Rail form factor, it makes it quite easy to simply mount the e-Node devices in a DIN-RAIL box. Power up your unit with either POE (e-Node 4x00) or a wall wart for e-Node 4x00 (if you don't have POE) or e-Node 2x00. If the e-Node/xxxx is mounted in the equipment rack, a LAN cable must be run from (each) e-Node/xxxx to any active network switch. Do not in general connect the Gateway to a free Ethernet port on your laptop or desktop. Occasionally, we have seen cases where dealers attempt to connect the e-Node/xxxx to their computer's Ethernet port and set up the e-Node with a static IP address to communicate with the laptop in AutoIP mode. AutoIP Mode will not allow the e-Node to communicate with 3rd-party control systems so in general do not setup the e-Node this way.
- Select appropriate IP Addressing (Dynamic/ Dynamic with Reservations or Static IP Addressing).
By default, the e-Node comes factory configured for Dynamic (DHCP ENABLED) addressing. It is recommended that the installer either (i) set the e-Node for DHCP DISABLE (i.e., STATIC addressing) using its web page/setup tool, or (ii) or leave the e-Node with its factory default of DHCP ENABLED and use your network Router setup features to reserve a "Static IP address" for the e-Node.
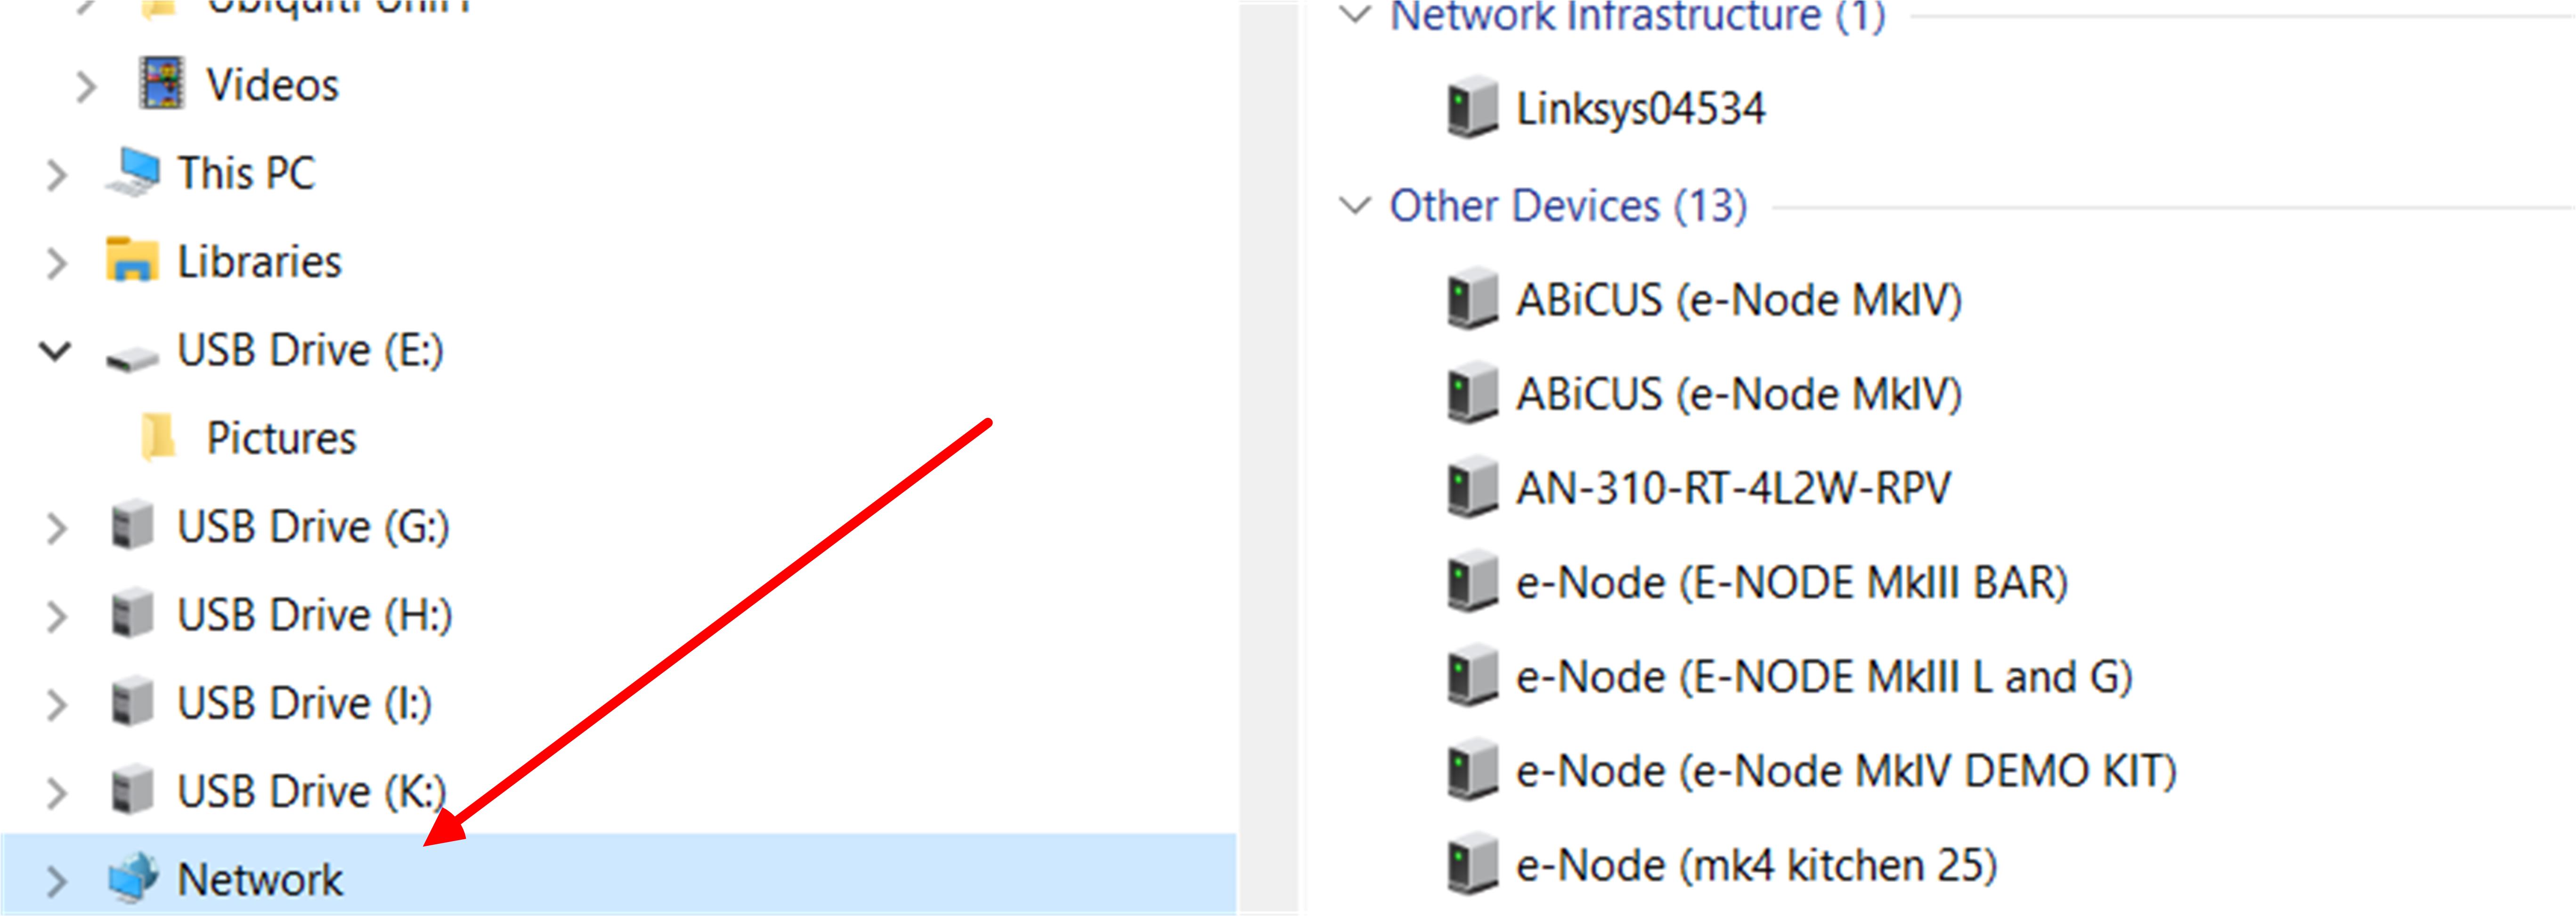
- Reboot e-Node after making any DHCP changes and use Windows File Explorer to discover the e-Node.

- After discovering e-Node on your network, double-click on the entry to launch its built-in web-page.

- Select the triple bar (settings icon), and navigate to e-Node/Properties/Settings Page and search for MODE entry (see image below) and make sure it is set to the appropriate MODE (PURE/DMX or DALI), and select that name on the Ribbon (end of red arrow) and discover/add devices as appropriate for your system using the e-Node's web-page.
Note: Depending upon your e-Node model various Modes will not appear.
For PURE Mode devices, discover applicable ILC-xxx0 controllers using the CS-Bus tab, for DMX Mode devices, add DMX devices using the DMX tab, and for DALI II Mode devices, discover DALI II devices using the DALI tab.
